I built an IsoBox
So I guess this mission all started when I had my son. I needed to find a way of recording guitar at night and I wanted to do it on somewhat of a budget. Since his birth I have tried multiple different software amps and direct recording solutions. Up until making the isobox I was using a Redbox out of a Marshall Class 5 headphone jack. (When ever I needed to record silently.) It was ok but the cleans weren’t really clean and it took pedals completely different to my normal amp.
Then one day I was watching Rhett Shull an he started talking about his home made Isobox. Fooling myself into thinking it couldn’t be that hard I went down to the local hardware store and bought.
Parts
1x 1.2m by 2.4m ply at 18mm
12x right angle metal brackets
4x small roller wheels
2x hingers
A pack of 20mm screws
clear sealant
I then went to Kmart (local budget store) and bought
3x 5mm yoga mats
1x single bed memory foam topper
The total for everything was about $140 NZD which is about 93 USD
So how did I do it?
First I cut the Ply into 3x 60cm by 70cm, 1x 60cm by 60cm 1x 60 by 62 and 1x 60 by 73.6 bottom.
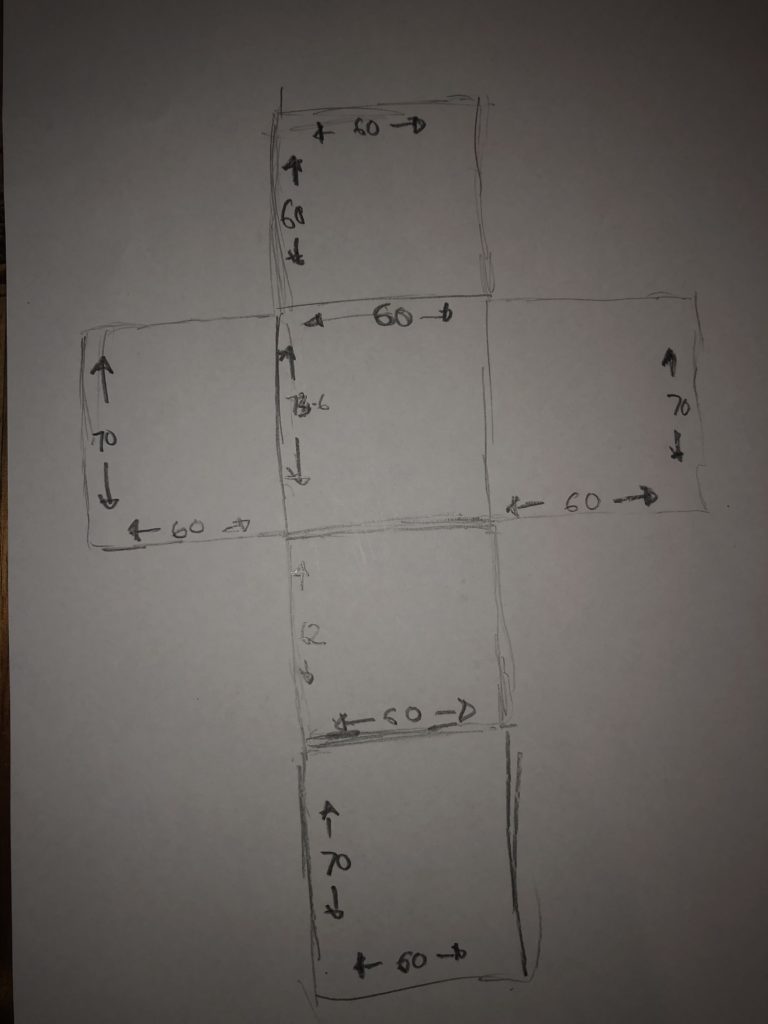
The base is 73.6/74 by 60 so I could fit the 4 sides on it. The sides are 70 by 60, 70 by 60, 60 by 60 and the last side is 60 wide but 62 high which gives me enough space to mount the hinges. That leaves the lid which in theory should be 60 by 70.
Once I had all the different pieces cut I started by drilling pilot holes for the screws and screwing in the brackets to build the sides which I would eventually screw onto the bottom. Each side board would have one bracket at the top and one at the bottom both 5 cm from their ends. The bottom had 4 brackets in the centre of each side board.
The hinges were mounted to the side that was 62 cm high so that the top sat on the edge of the box flush. From there it was simple put sealant along the all the edges inside and out.

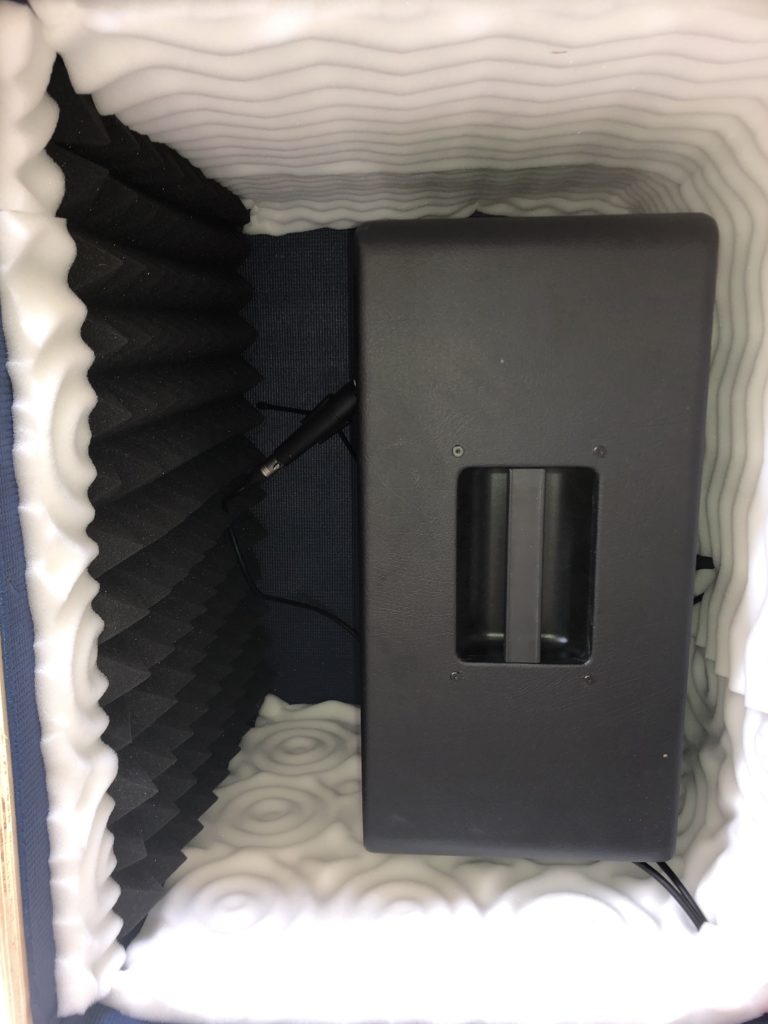
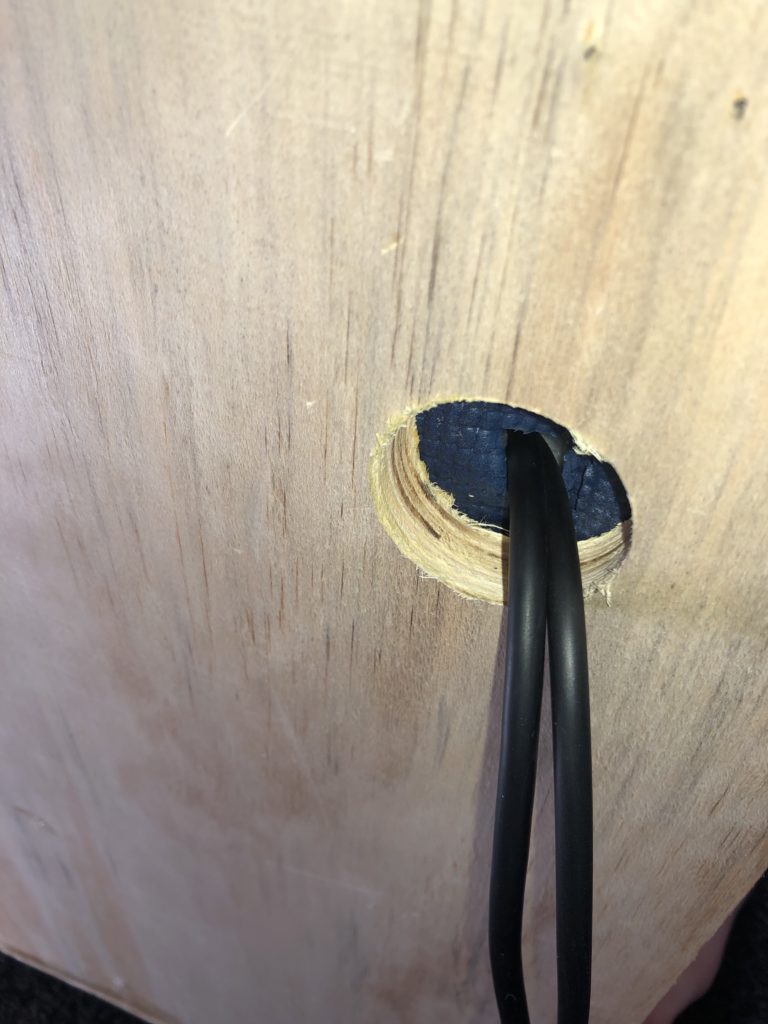
I then cut (using a drill saw bit) a whole just below the hinges, which I use to feed the mic and speaker cable through. It’s important to do this before you line your box so you don’t cut the lining with the drill saw bit.
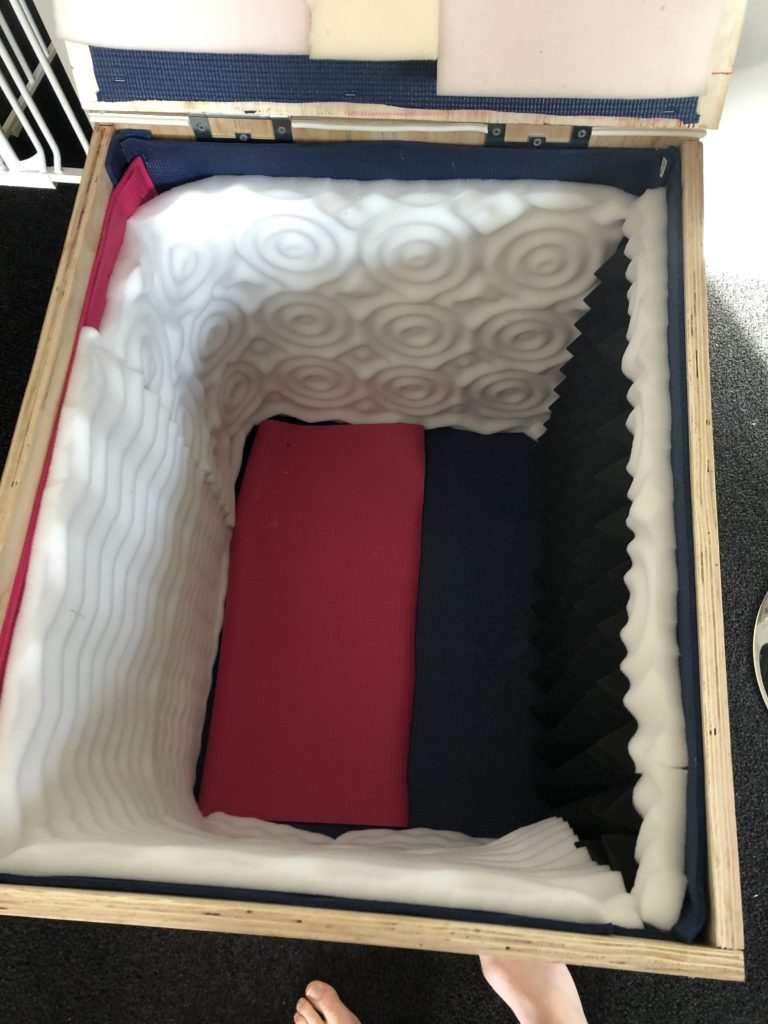
I then lined the box with yoga mats, everywhere once but twice on the bottom and corners
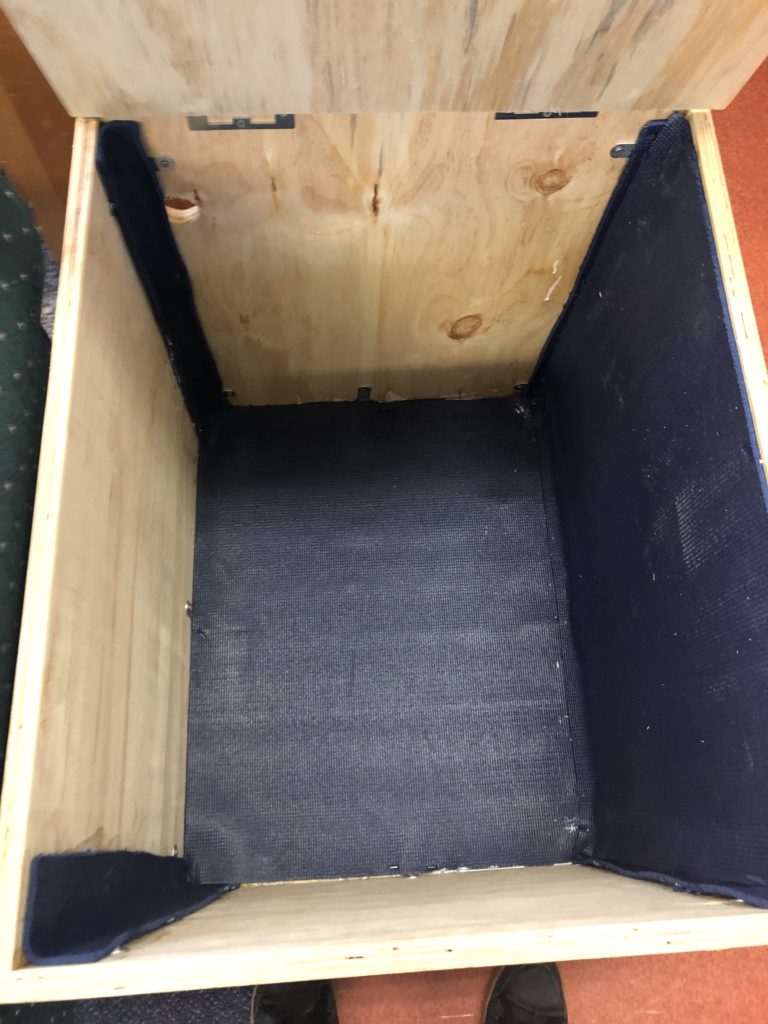
I then added the memory foam mattress topper and I was done.